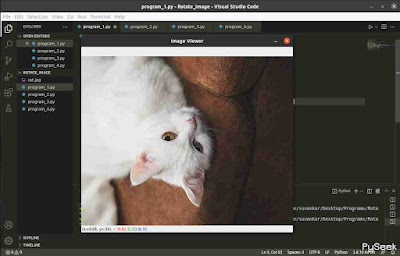
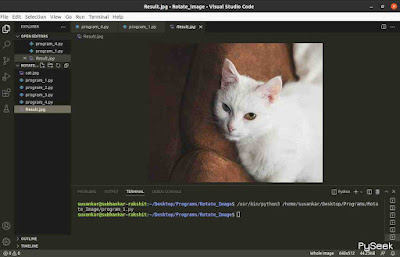
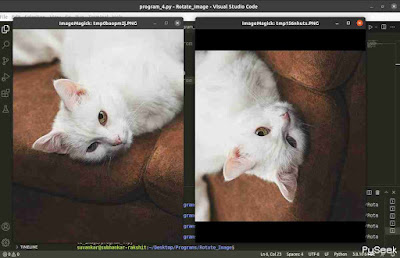
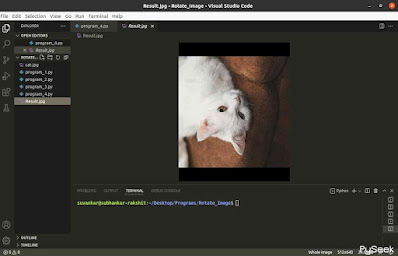
Introduction
You might have faced a problem while clicking an image through a mobile camera like you've found the clicked image is in the wrong alignment. It can happen just for light moving of the mobile camera while shooting the image but it also can be fixed just by performing the rotation operation. That's why the photo viewer application by default gives the options for that.
As a python programmer, I found a way to rotate an image using python programs. Python offers two libraries to do this task. We're gonna try both methods here. So, before going more deeper, make sure you've completed the following requirements.
Requirements
Install OpenCV: pip install opencv-python
Install Pillow: pip install Pillow
The Original Image
cat.jpg
Rotate an image using OpenCV
You can perform the rotation operation on any image easily using this library. But there are some limitations. You can perform only these rotation types:
1. 90 degree clockwise
2. 90 degree anti-clockwise(or 270 degree anti-clockwise)
3. 180 degree(clockwise only)
90 degree clock-wise
Code
 # Importing the cv2 module
import cv2

# Image path: The image is in the current directory
img = 'cat.jpg'
# Reading the image data
data = cv2.imread(img)
# Rotating the image 90 degree clock-wise
rot_img = cv2.rotate(data, cv2.cv2.ROTATE_90_CLOCKWISE)
# Showing the rotated image(without saving)
cv2.imshow("Image Viewer", rot_img)
# Press any key to exit the "Image Viewer Window"
cv2.waitKey(0)
Output
90 degree anti-clockwise(or 270 degree anti-clockwise)
Code
# Importing the cv2 module
import cv2

# Image path: The image is in the current directory
img = 'cat.jpg'
# Reading the image data
data = cv2.imread(img)
# Rotating the image 90 degree clock-wise
rot_img = cv2.rotate(data, cv2.cv2.ROTATE_90_COUNTERCLOCKWISE)
# Showing the rotated image(without saving)
cv2.imshow("Image Viewer", rot_img)
# Press any key to exit the "Image Viewer Window"
cv2.waitKey(0)
Output
180 degree(clockwise)
In this case, we have to mention only "ROTATE_180", it will work clockwise by default.
Code
# Importing cv2 module
import cv2

# Image path: The image is in the current directory
img = 'cat.jpg'
# Reading the image data
data = cv2.imread(img)
# Rotating the image 90 degree clock-wise
rot_img = cv2.rotate(data, cv2.cv2.ROTATE_180)
# Showing the rotated image(without saving)
cv2.imshow("Image Viewer", rot_img)
# Press any key to exit the "Image Viewer Window"
cv2.waitKey(0)
Output
Save the rotated image
OpenCV library offers to save an image also anywhere you want, cv2.imwrite() method. By default, it saves the file under the current working directory. The location, as your choice, you need to change the current working directory to the desired location.
Code
# Importing the cv2 module
import cv2

# Image path: The image is in the current directory
img = 'cat.jpg'
# Reading the image data
data = cv2.imread(img)
# Rotating the image 90 degree clock-wise
rot_img = cv2.rotate(data, cv2.cv2.ROTATE_180)
# Saving the rotated image
# Argument 1: The filename, Argument 2: Result Image
cv2.imwrite("Result.jpg", rot_img)
# Showing the rotated image(without saving)
cv2.imshow("Image Viewer", rot_img)
# Press any key to exit the "Image Viewer Window"
cv2.waitKey(0)
Output
Rotate an image using Pillow
We can rotate an image by any degree using the Pillow module. So it's a little bit better than the OpenCV library for rotating an image I think, but this library offers only rotating counter clockwise.
So let's try the same task we've done above with this Image Processing library too.
45 degree (anti-clockwise)
There is an option to set the title of the image viewer windows but, it doesn't work perfectly.
Code
# Import the Image module from PIL
from PIL import Image

# Open the original image
img  = Image.open("cat.jpg")
# Rotating the image 45 degree anti-clockwise
rotated = img.rotate(45)
# Show the original image
img.show(title="Original")
# Show the rotated image
rotated.show(title="Rotated")
Output
50 degree (anti-clockwise)
Code
# Import the Image module from PIL
from PIL import Image

# Open the original image
img  = Image.open("cat.jpg")
# Rotating the image 50 degree anti-clockwise
rotated = img.rotate(50)
# Show the original image
img.show()
# Show the rotated image
rotated.show()
Output
90 degree (anti-clockwise)
Code
# Import the Image module from PIL
from PIL import Image

# Open the original image
img  = Image.open("cat.jpg")
# Rotating the image 90 degree anti-clockwise
rotated = img.rotate(90)
# Show the original image
img.show()
# Show the rotated image
rotated.show()
Output
Save the rotated image
Pillow library also offers to save an image anywhere you want, using the Image.save() method. By default, it saves the file under the current working directory. The location, as your choice, you need to change the current working directory to the desired location.
Code
# Import the Image module from PIL
from PIL import Image

# Open the original image
img  = Image.open("cat.jpg")
# Rotating the image 90 degree anti-clockwise
rotated = img.rotate(90)
# Saving the rotated image
rotated.save("Result.jpg")
# Show the rotated image
rotated.show()
Output
Conclusion
In this tutorial, we've learned how to rotate an image using python. We've used two python libraries, OpenCV and Pillow, to do the task. We also learned how to save the image after performing the rotation operation.
If you've any queries related to this topic we discussed here, just leave your comment below. You'll get an immediate response.
Thanks for reading!💙


