Introduction
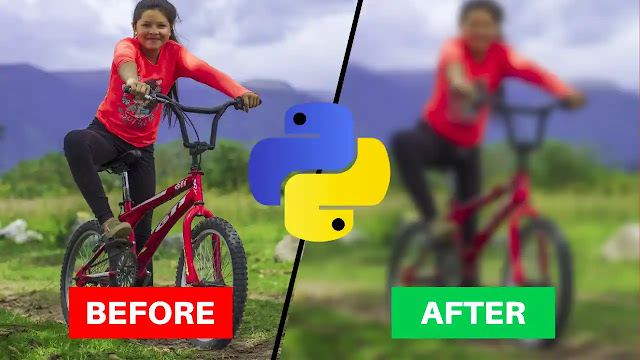
In this tutorial, we are going to blur an image in python. We will define a total of five programs to perform this task.
There are two popular libraries offered by python, OpenCV, and Pillow. These libraries provide different methods for performing various operations on images. Here, we will perform only the Blur operation on an image.
Usually, Blur means fuzzy things we understand and what a blur image is, we all know more or less. But technically it represents something else. Let me give you a little more detail.
You probably know an image is nothing but a formation or structure of a large number of pixels. Each pixel represents a color, denoted by a unique number. A pixel controls the brightness too.
So when we apply the blur technique to an image, it means removing several pixels or smoothing them out(depending on the blur intensity we chose). As a result, we see the image as indistinct or noisy.
We did enough chit-chat, let's get into the main topic.
👉Visit Also: Add Your Watermark on a Photo using Python
Requirements
Since we are working with third-party libraries, you need to install them before you start coding.
Use 'pip3' instead of 'pip' for Linux.
☛Install Pillow: pip install Pillow
☛Install OpenCV: pip install opencv-python
Blurring an image using the Pillow library
You will go through a total of three different programs here and in each program we have used the "filter()" method by passing different blur methods to it. Let's see them one by one.
Applying ImageFilter.BLUR
# importing Image and ImageFilter module
# pillow library
from PIL import Image, ImageFilter

# opening the image
Img = Image.open("sample.jpg")
# applying the filter: BLUR
blurImg = Img.filter(ImageFilter.BLUR)
# displaying the result image
blurImg.show()
# save the image
blurImg.save("blur1.jpg")
Output
Applying ImageFilter.BoxBlur
# importing Image and ImageFilter module
# pillow library
from PIL import Image, ImageFilter

# opening the image
Img = Image.open("sample.jpg")
# applying the filter: BoxBlur
blurImg = Img.filter(ImageFilter.BoxBlur(radius=4))
# displaying the image
blurImg.show()
# save the image
blurImg.save("blur2.jpg")
Output
Look at the yellow line, in the 'BoxBlur' class we passed a parameter, 4 which is 'radius', representing the size of the box in one direction.
Radius 0 does not blur and returns an identical image. Radius 1 takes 1 pixel in each direction, i.e. 9 pixels in total.
You can control the intensity of the blur by changing the value of this radius parameter.
Applying ImageFilter.GaussianBlur
# importing Image and ImageFilter module
# pillow library
from PIL import Image, ImageFilter

# opening the image
Img = Image.open("sample.jpg")
# applying the filter: GaussianBlur
blurImg = Img.filter(ImageFilter.GaussianBlur(radius=4))
# displaying the image
blurImg.show()
# save the image
blurImg.save("blur3.jpg")
Output
Look, in the last two programming examples, we took the same number(4) as the 'radius' value. But, 'GaussiuanBlur' did the task a little better than others.
Blurring an image using the OpenCV library
OpenCV library also offers several methods to apply blur operation on images. We will use only two of them. If you're interested to know more about smoothing and blurring techniques, visit here.
Not just images, OpenCV offers to work with computer vision also, which is a very popular topic nowadays. Know more related to Computer Vision.
👉Build a face recognition based attendance system using Python
👉Create a Face Recognition Project in Python: with Money Heist
👉Convert an Image to a Cartoon using OpenCV Python
Applying cv2.blur() method
import cv2

# opening the image
Img = cv2.imread("sample.jpg")
# applying the blur function
blurImg = cv2.blur(src=Img, ksize=(8,8))
# displaying the result image
cv2.imshow('Blurred Image', blurImg)
cv2.waitKey()
# press any key to destroy all windows
cv2.destroyAllWindows()
Output
Look at the yellow line. We have passed two parameters to the "cv2.blur()" method.
src: It takes the path of the image file.
ksize: represents the kernel size. Here, we applied 8x8 blur kernel. You can change the number for increasing and decreasing the blur intensity.
Applying cv2.GaussianBlur() method
import cv2

# opening the image
Img = cv2.imread("sample.jpg")
# applying the GassianBlur function
blurImg = cv2.GaussianBlur(src=Img,ksize=(9,9), sigmaX=0)
# displaying the result image
cv2.imshow('Blurred Image', blurImg)
cv2.waitKey()
# press any key to destroy all windows
cv2.destroyAllWindows()
Output
 |
| Blurred Image, by cv2.GaussianBlur() method |
| Important Note |
|---|
| For the OpenCV Gaussian Blur method, you only can choose an odd number as the kernel size('ksize'); For example, 1x1, 2x2, 3x3, ..., 9x9, and so on. Otherwise, the program will return this error message, "ev2.error". |
Summary
In this tutorial, we have covered how to blur an image in python. A blurry image refers to an image that is indistinct to human eyes.
We applied several methods from Pillow and OpenCV library to perform blur operations on images and later we saved the result images too. Let's take a quick glance at them.
1. ImageFilter.BLUR
2. ImageFilter.BoxBlur
3. ImageFilter.GaussianBlur
4. cv2.blur()
5. cv2.GaussianBlur()
👉Visit Also: Hack with Image: Extract Metadata from an Image using Python
Now it's your turn; use any python programs from the above to blur one of your pictures and let me know in the comment section what you have found after.
That's all for today, see you soon on the next topic.
Thanks for reading!💙
PySeek


